 PhotoTune
 Home / Guides / Brighten dark iPhone photos
How to brighten a dark photo on iPhone
Short answer
Open the photo in the Photos app, tap Edit, then Adjust, and raise Exposure to lighten the whole photo, or Brilliance and Shadows to bring up its dark areas. Photos can also enhance the light in one tap, and on Portrait mode photos Studio Light lights the face. PhotoTune's Flash, under Light then Effects, lights the face it finds in any photo and lets the background fall darker, so a bright window or sky is not pushed to white.
Two ways to brighten a dark photo on iPhone, compared
| Photos app | PhotoTune | |
|---|---|---|
| What gets brighter | Exposure, the whole photo. Brilliance and Shadows, its dark areas | Lighting, the whole photo. Flash, the face, while the background falls darker |
| Light settings | Exposure, Brilliance, Highlights, Shadows and more, and a one-tap enhance | Exposure and Contrast, Auto Adjust, and Flash |
| Lights the face itself | Studio Light, on Portrait mode photos | Flash, on any photo where it finds a face |
| Highlights and shadows on their own sliders | Yes | No |
| Many photos at once | Copy Edits, then Paste Edits onto a selection | A Preset, applied to up to 100 photos |
| Cost | Free, part of the iPhone | A subscription to save the photo |
| Use it when | The whole photo is dark, or the shadows need opening up | The face needs light and the background does not |
How to brighten a dark picture in the iPhone Photos app
Start here. For most dark photos the Photos app is all you need: it is already on the phone, it costs nothing, and its Adjust settings include controls PhotoTune does not have, Highlights and Shadows among them.
Apple's iPhone guides name Exposure, Brilliance, Highlights and Shadows among the light settings, and do not say what each one does. Apple's guide to Photos on Mac, which uses the same names, does. Exposure adjusts the lightness or darkness of the entire image. Brilliance brightens dark areas, pulls in highlights and adds contrast to reveal hidden detail. Highlights adjusts the highlight detail, and Shadows the detail that appears in shadows. Brightness adjusts the brightness of the photo, and Black Point sets the point at which the darkest parts become completely black, which Apple says can improve the contrast in a washed-out image.
So there are two different jobs here. Exposure is for a photo that is dark all over. Brilliance and Shadows are for a photo whose dark parts are the problem, which is usually the case when a face is darker than the window or sky behind it.
What you need: Any iPhone. Nothing to install.
-
Open the photo and tap Edit
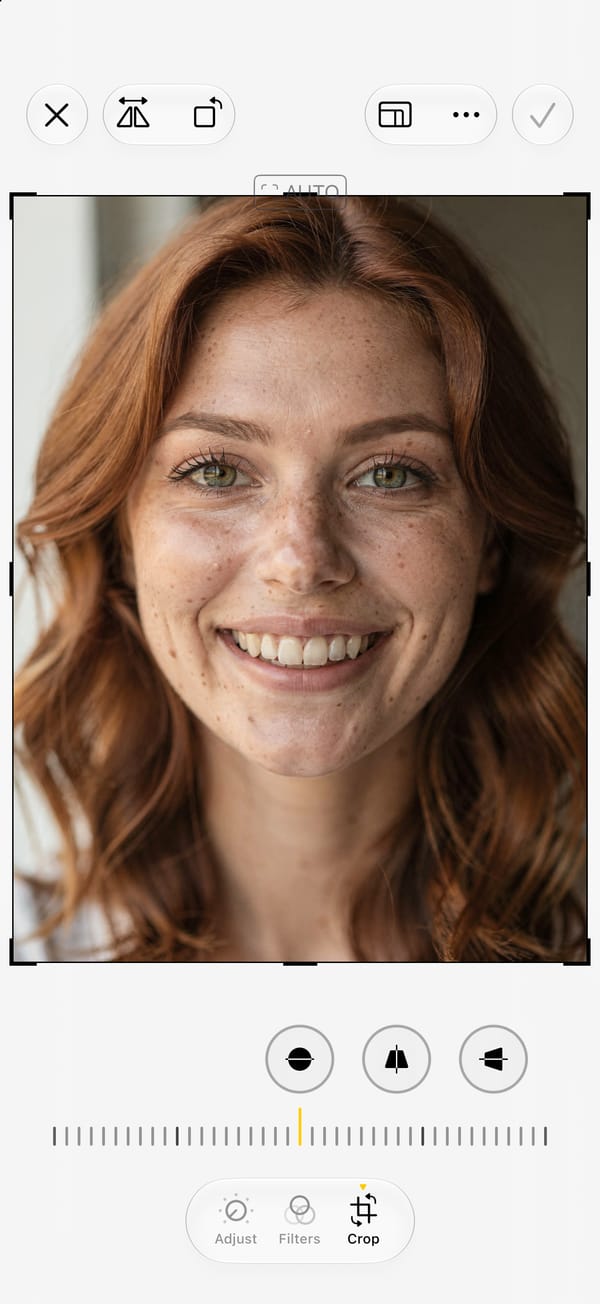
In Photos, tap the photo to open it, then tap the edit button.
-
Tap Adjust
Swipe left under the photo to move through the settings, then tap one and drag its slider.
-
Let Photos try first
Apple's guide says a single tap enhances the light and colour automatically. It is a quick first guess, and on an evenly dark photo it may be all the photo needs.
-
Raise Exposure if the whole photo is dark
Exposure lightens the entire image. Stop when the brightest part of the photo starts to turn white: past that point it has no detail left in the edited photo.
-
Use Brilliance and Shadows for a dark face against a bright background
Exposure brightens the window behind a face along with the face. Brilliance and Shadows work on the dark areas instead, and Highlights adjusts the detail in the bright parts, such as a sky.
-
Compare, then tap Done
Tap a setting's button to compare the edited version with the original. Done saves the edit; Cancel, then Discard Changes, leaves the photo as it was. Revert to Original undoes a saved edit later.
Where it falls short
Apple describes these settings in terms of the whole image, its dark areas and its highlights, not of a face or a subject, so a dark background comes up along with a dark face, and Exposure takes a bright window or sky up with everything else. The setting Apple's guides describe for a face, Studio Light, is for Portrait mode photos and, on supported models, photos of a person taken in Photo mode that Photos can turn into portraits. Apple's iPhone guides do not say what each light setting does; the descriptions here are from its guide to Photos on Mac.
Brighten a face in a dark or backlit photo with PhotoTune
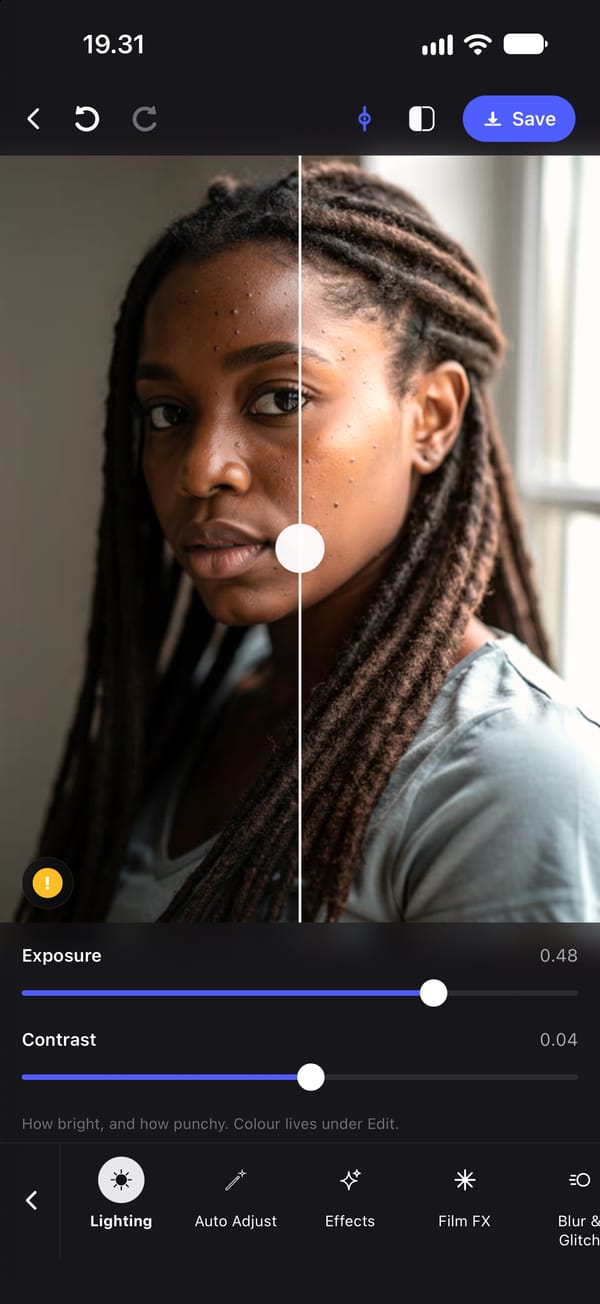
PhotoTune's Light group has three tools for a dark photo. Lighting is Exposure and Contrast for the whole photo, the same kind of control as Exposure in Photos. Auto Adjust measures the face rather than the whole frame and sets those two sliders for it in one tap. Flash, in Effects, is the one that works differently: it adds light where the face is and lets the rest of the frame fall darker.
Flash finds the face on the phone and lights a wide, soft-edged area centred on it. The light it adds rolls off as it nears white instead of clipping, so it does not turn a bright window or sky white, and the background beyond the lit area goes darker rather than brighter. Nothing is generated and no feature moves: it is light on the photo you took.
All three run on the iPhone. The photo is not sent anywhere.
What you need: An iPhone and the app. Lighting, Auto Adjust and Flash work with no connection.
-
Open the photo and tap Light
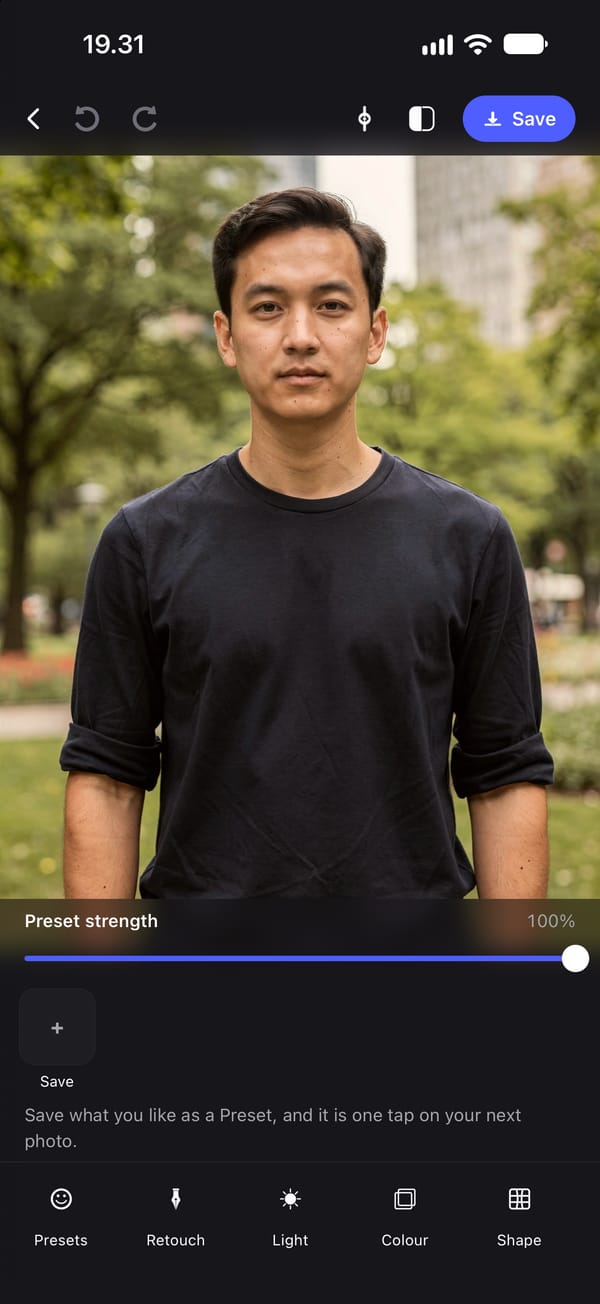
Light is the third group along the bottom of the editor, after Presets and Retouch. Its tools are Lighting, Auto Adjust, Effects, Film FX and Blur & Glitch.
-
Try Auto Adjust
Tapping it measures the face and sets Exposure and Contrast for it straight away. The panel lists what it changed, and Undo takes it back.
-
Or set Exposure yourself in Lighting
Raise Exposure until the face reads clearly, then add a little Contrast if the photo has gone flat. Both sliders also run the other way, for a photo that is too bright.
-
For a backlit face, open Effects and raise Flash
Raise it until the face is lit, and watch the background go darker as it does. With Flash doing the work, Exposure can stay low, so the window or sky is not lifted with the whole photo.
-
Compare with the original
Tap the split button at the top of the editor to put a divider through the photo, with the original on the left.
-
Correct the colour if the light was yellow or grey
Exposure does not change the colour of the light. Edit, under Colour, has Warmth for a yellow or blue cast and Vibrance for colour that has gone dull.
-
Save, or keep the light as a Preset
Save writes a new JPEG to your camera roll with no watermark, and the photo you opened is not changed. A Preset keeps Exposure, Contrast and Flash for the next photo.
Where it falls short
There is no Highlights or Shadows slider and no brush for light. Lighting's Exposure lifts the whole photo, and pushed far it turns the brightest parts white. Flash is aimed at one face: in a group photo it lights the face the app finds, and people farther from it fall darker with the background. With no face found, it lights the middle of the photo instead. Auto Adjust is cautious on a photo shot far too dark and leaves the face a little dark rather than turn the highlights white, so expect to finish with the Exposure slider.
How to brighten a face in a photo on iPhone
Apple's guides describe one Photos setting aimed at a face: Studio Light, a Portrait Lighting effect that lights the face brightly and gives the photo an overall clean look. It works on photos taken in Portrait mode, and on supported models Photos can turn a photo of a person taken in Photo mode into a portrait first. Open the photo, tap the edit button, tap the button at the top that brings up the Portrait Lighting effects, slide your finger to Studio Light, and set its strength with the slider below the effects.
For any other photo the choice is between lifting the dark tones, which brings a dark background up with the face, and lighting the face itself, which is what PhotoTune's Flash does.
Either way, the aim is the light the person was standing in, not a different skin tone. Brighten until the eyes read clearly, compare with the original, and if the skin has turned grey or chalky, back off.
Backlit photos, where the window or sky is the bright part
A face against a bright window often comes out dark: the window is far brighter than the face, and an exposure that keeps the window from turning white leaves the face in shadow. Anything that brightens the whole photo brightens the window with it, and a sky that was almost white goes the rest of the way. Whatever the edit turns pure white has no detail left in the edited photo.
So for a backlit photo, leave Exposure for last. In Photos, start with Brilliance or Shadows, and use Highlights for the sky. In PhotoTune, start with Flash. And if the sky was already pure white in the photo as taken, no edit brings it back: there is nothing there to recover.
Brighter without looking washed out or grainy
A photo taken in the dark carries noise, and brightening it brightens the noise too. That grainy look is the photo's own and the best cure is less brightening: get the face to read clearly, not the room to look like daylight.
A brightened photo also tends to look flat and grey, because its darkest parts are no longer dark. Add a little contrast back, with Contrast in PhotoTune or Contrast or Black Point in Photos, and look at the photo at the size people will see it, not zoomed in on the face.
Brightening a set of dark photos from the same place
Photos from one room or one evening usually need the same fix. Apple's guide describes Copy Edits and Paste Edits in Photos for exactly this, onto one photo or a selection, and says Photos adjusts the white balance and exposure of each pasted photo to make them match better.
In PhotoTune the same job is a Preset: save the light from one photo, then apply it to the next with one tap, or to up to 100 photos at once with Apply to photos or Batch. A Preset that carries Flash aims it at the face in each photo, so it lands on whoever is in the frame. Saving a Preset, like saving a photo, needs a subscription.
Getting PhotoTune
PhotoTune is an iPhone app; there is no Android or web version. Saving an edited photo needs a subscription, and the annual plan starts with 3 days free. The pricing page has every plan and what the trial turns into.
Sources
What this guide says about software other than PhotoTune comes from the pages below, read on the dates shown. The PhotoTune screenshots are captures of the app.
- Apple: Edit photos and videos on iPhone (iOS 27) checked
- Apple: Edit photos and videos on iPhone (iOS 18) checked
- Apple: Adjust light, exposure, and color in a photo or video on Mac (macOS 27) checked
- Apple: Edit Portrait mode photos on iPhone (iOS 27) checked
- Apple: Undo and revert photo edits on iPhone (iOS 27) checked
FAQ
Brighten dark iPhone photos: common questions
Still have a question?
Anything not answered here — a device, a photo it struggled with, or how the trial works — reaches a person at this address.
Ask a questionHow do I brighten a dark picture on iPhone without an app?
Open it in Photos, tap the edit button, then Adjust. Raise Exposure if the whole photo is dark, or Brilliance and Shadows if the dark parts are the problem. Photos can also enhance the light in one tap.
How do I brighten a face in a photo on iPhone?
On a Portrait mode photo, choose the Studio Light effect in Photos. On other photos, the Adjust settings brighten the face along with the rest of the photo or its other dark areas, and PhotoTune's Flash lights the face it finds and lets the background fall darker.
Why does the sky turn white when I brighten a photo?
Because Exposure brightens the whole photo, and the sky was already the brightest part. Bring up the dark areas with Brilliance or Shadows instead, use Highlights for the sky, or light the face with Flash in PhotoTune.
How do I make a photo brighter without it looking washed out?
Brighten less than you think, add a little contrast back, and compare with the original as you go. Stop once the face reads clearly.
Can I undo it later?
In Photos, open the edited photo and choose Revert to Original. PhotoTune saves a new photo, so the one you opened stays as it was.
Does PhotoTune send my photo anywhere to brighten it?
No. Lighting, Auto Adjust and Flash run on the iPhone and need no connection. The photo is not sent to a server.
The tools in this guide
- Brighten photo
Brighten a dark photo on iPhone
Brighten a dark photo on iPhone with Exposure and Contrast, then warm it up or add a colour grade. Works on any photo and runs on your phone.
- Natural retouch
Natural photo retouch for iPhone
A natural photo retouch app for iPhone. Smooth skin, clear blemishes and fix lighting while pores and skin texture stay. Retouching runs on your phone.
- Reusable edits
Save photo edits and apply them to other photos
Save photo edits as a Preset on iPhone and apply them to other photos in a tap, or to up to 100 at once. Skin, whitening, lighting and colour, reused across faces.